Slicers, whether they’re on the bicep or calf, are very nasty submission holds that are not completely legal in BJJ. Still, after achieving a certain level they become available and offer great variability in the attack. As such, people tend to use the calf slicer more nowadays, but the bicep slicer is still somewhat of an afterthought at best. Those that know it understands its potential, but for some reason, it doesn’t find its way into the arsenal of many top-level grapplers. The bicep slicer is one of those submissions that got forgotten for a bit, making it a prime candidate for a huge comeback! With today’s setups and mechanical details, you’ll be able to slap it on lighting fast and surprise everyone! Let’s start at slicing.
Submissions involving trauma to the muscles are not something we see often in Jiu-Jitsu. Granted, chokes are undisputed as the top submission option to have, regardless of which kind you like. Joint locks, follow suit, with twisting locks having the upper hand over straight locks. Finally, there are cranks and muscle compressions. The legality factor usually removes cranks from the equation, leaving us with compression locks, AKA slicers. The calf and bicep slicer are mighty weapons, particularly the latter. A bicep slicer is something that nobody expects and, if you put some training in, something that will work on just about anyone. Simple and painful, just how we like our submissions!
“Legal Disclaimer”
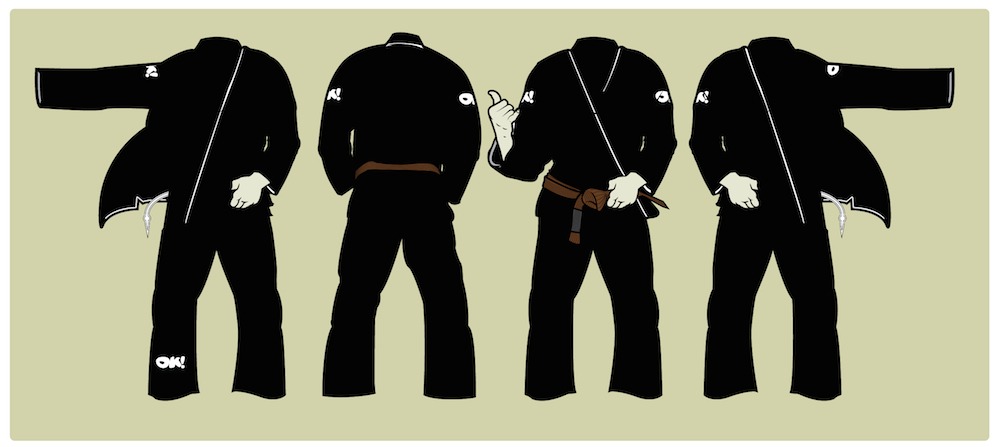
The bicep slicer submission, as a compression lock is subject to some specific competition rules. As such, it is legal under IBJJF/UAEJJF rules only after the rank of brown belt. Attacking with one intentionally before that is going to get you disqualified. Since IBJJF/UAEJJF rules are considered as the standard, it is widely accepted that you can’t do the bicep slicer until you’re a brown belt. This includes both Gi and No-Gi competition.
However, it is worth noting that under different rulesets, bicep slicers are usually legal. Under ADCC, EBI and a bunch of other modern format rules, all submissions are legal at all levels. As such, make a note of always checking the status of the bicep slicer before you enter a competition in which you intend to use it.
The Bicep Slicer Essentials
The bicep slicer, as a submission, is extremely versatile, you can catch it from pretty much anywhere, and you can use either your arm or your legs to get the tap. In certain cases, you can actually use both your arms and your legs for an ultra-tight slicer.
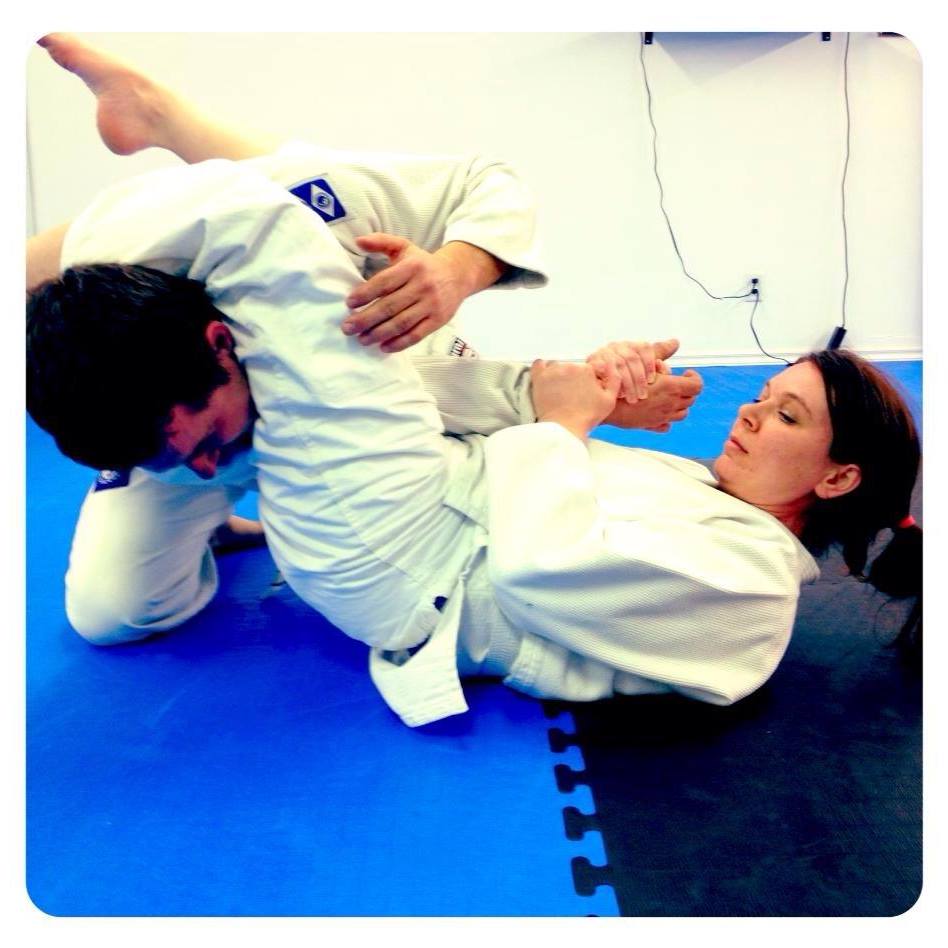
The bicep slicer works in a really simple manner. You take a bony part of your limbs, usually the shinbone or the forearm bone and you wedge it as deep as you can in the elbow crease of your opponent. As far as setting it up, if you achieve this you’re halfway there. What’s left is the compression part. To finish a bicep slicer, you need to find a way to push the opponent’s forearm towards their bicep. As you have your shin or forearm in the elbow crease, this puts the bottom bicep tendon under extreme pressure. Your goal is to basically try and touch the opponent’s hand to their own shoulder. To do that, you have several different leg and/or arm configurations available.
 One perfect example of a bicep slicer is an armbar. The slicer is the perfect follow up to any failed armbar attempt. whenever you end up in the familiar battle of the grips after a mounted armbar, you always have the slicer to drop back to. If you can’t break your opponent’s grips when you’re trying to get an armbar, all you need to do is take the leg that’s on their chest and place it over their forearm. Lock a triangle with your legs and you’ll most likely get the tap there. If not, you can squeeze to ensure you do. Another likely outcome is the opponent let go of everything and allowing you to finish the armbar.
Guard Setups
 Let’s look a few slick bicep slicer setups that are not as common as the armbar one. One great position to look for slicers is the guard. Whether it is a closed or an open guard, you always have the option of bicep slicers. One closed guard setup works great when an opponent has both arms on your belly and is highly defensive. All you need to do is thread an arm inside one of their elbows, with your palm ending up towards your head. A simple side bend will take you there with ease. Hold on to their wrist with the other arm and open your guard. Finish by going in an Omoplata-like direction with your nearside leg and ranging your legs, just like in the armbar setup.
 Another guard option includes any open guard, in which you have a lasso hook. You might be in a simple lasso guard or some complex variation like the spider lasso. The goal here is to reach under the armpit and trap the opponent’s shoulder and pull. Unlike the previous two examples, here your shin is going to be the source of pressure.
 Last but not least, you can also hit a bicep slicer off a triangle choke. whenever an opponent postures up with all their power, they always leave an arm dangling. While you might not get a triangle, slicers are more than available. The setup here is identical to the closed guard setup, with the only different variable being that you have to pull towards you before you triangle your legs.
Side Control Entries
 Switching to top positions, let’s explore a few bicep slicers from side control. Topside control is actually a position in which your opponents often get into slicers by themselves, not even realizing it. A great option is hunting it off other submissions, just like with the armbar. In this case, it is going to be a Kimura. Getting a far arm Kimura grip from side control is not a hard thing to do. Finishing a Kimura might prove to be challenging, though. In such a case, go for a slicer! Your arm is already in place, all you need to do is let go of their wrist and go as deep as possible in a figure four arm configuration. A simple twist of the forearm and a squeeze will do the trick.
 Another option is hunting for the near sidearm, but using your legs instead of your arms. The top crucifix position is one where you control the far side arm with your arms, and the near side arm is pinned by one of your legs. Well, make sure that it is the inside leg doing the pinning and you’ll open up a bicep slicer. Control the wrist with your arm and make sure you slide your other leg as far back as possible. This gets your hip into position for the submission. Once again, you can triangle your legs, or simply place your knee to your feet. Push with the hip and you’ll get a tap.
What to Do With This Information?
The bicep slicer is very powerful and not at all limited to the positions we covered earlier. Feel free to experiment with different setups and finishes. Just remember to have a bony part of your limbs inside the crease and turn that limb towards the crease when you finish. Nobody will be able to withstand it if you get all the mechanics correctly.
On the subject of efficient training, make sure you start with slicers at the blue, or purple belt at the latest. Do not wait to get your brown belt and then begin learning them because you’ll be behind. Instead, find willing training partners, consult your instructor and drill the move. If it is alright in your academy, go for it while you roll as well. Happy hunting!
Double Leg Takedown – How to Do It & The Most Common Mistakes

 That said, a BJJ Gi is a very specific piece of training equipment. All BJJ Gis are built to last since there’s a lot of tugging and gripping involved. They’re much sturdier than Judo or Aikido Gis and have a tighter cut. This is because very wide sleeves, like those of Judo Gis, are extremely easy to control during training and rolling in Jiu-Jitsu.
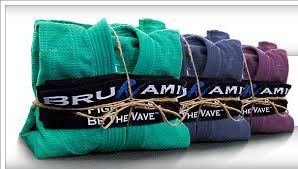 It would be smart to inquire with your instructor if this is acceptable for your academy. Certain places have stricter Gi rules than others, and you should make sure you abide by them. Also, remember that custom Gis are great for training but do not try and wear one at an IBJJF/UAEJJF event. Well, not if you want to compete, anyway.


 The first thing to know is that it is not only submissions that might affect your elbow. In fact, apart from armbars, your elbows do not get attacked directly much in BJJ. However, the indirect pressure they get is crazy! The thing with elbows is that we use them exceedingly more than most other joints on the ground. Every post, every grab, every twist involves the elbows. That means they get battering both when you attack and when you defend. Basically, it means you can get your elbow injured at any given moment.

 In the US, as of now, there are a few examples of BJJ in the curriculum of high schools. LA’s Baton Rouge BASIS Charter School opened up it’s doors to a Jiu-Jitsu class as part of the curriculum since the Fall of last year. Other schools across the states have after-school programs that include Jiu-Jitsu classes. They are, however, recreational.
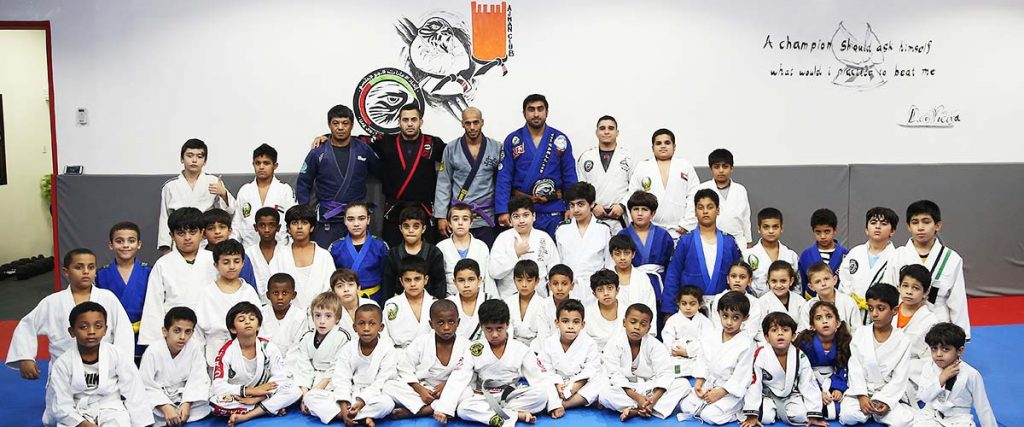 What BJJ also brings to the table are interpersonal relations from a much different aspect than the classroom. You learn how to engage with people in situations where you are in different situations and with different outcomes. A hugely important lesson is also the lesson of persistence and progress. the more you stick with BJJ, the less you suck and the better you get. Life is much the same. There’s dealing with pressure and comfort too, which is immense, particularly if you get to learn it from an early age and in a safe environment.

 By then, women had the right to vote in certain parts of the world, like New Zealand, for example. Pankhurst led women to protests, heckling opposition, breaking windows, setting fires, and even a few clashes with the police. The WSPU was not always publically behind such direct action, though, as several groups within the organization formed over time.
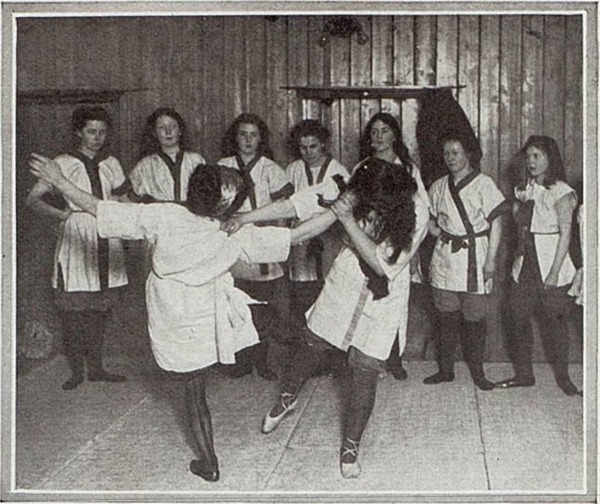
 Born in 1872, Edith Garrud learned how to fight from her husband, who was an instructor in wrestling, boxing, and gymnastics. They ran a martial arts dojo together in London and were approached by the WSPU. Edith soon started running the WSUP’s classes on her own and joined into the cause. She even asked men to wear police hats, while she demonstrated techniques in class, much to the approval of her students. The fact that Edit was tiny at 4’11” but as fierce as they get. She was highly skilled and technical, which allowed her to apply her knowledge in real situations. The rest fo the suffragettes followed and suffragette Jiu-Jitsu was born.
 Somewhere around 1913, things took a turn for the worst. Suffragettes, including leader Pnkahurst, often ended up under arrest and in prison. When they went on hunger strikes they were released, only to be re-arrested once they recovered their health. As a leader and orator, Emmeline Pankhurst had a vital role to play in the suffragette movement. She was much more value out of prison, so Edith and some of the other suffragettes got together to form a protective group. “The Bodyguard” as it was known, was a group of highly trained suffragettes, armed with clubs that protected Pankhurst.


 In preparation for flight, astronauts have to undergo training to learn how to cope with the pressure of gravity they’ll experience. The closest astronauts can get to the G’s they’ll experience is via a centrifuge. This is a machine that spins astronauts so they get to experience a weight up to 8-9 times their body weight. Kind of sounds like being caught in knee on belly, right?
 But that’s not even scratching the surface. Ailments like depression, anxiety, panic attacks, PTSD, ADHD (particularly in kids) etc are pretty much running rampant throughout society. Although we can’t claim that they’re all due to stress, there’s certainly a correlation. All of the above are just the tip of the iceberg.