What if I could tell you that you can use the same submission you’re using with the Gi and make it effective in No-Gi? Or that it works in reverse too? Yes, it’s not anything groundbreaking but it is a fact of Brazilian Jiu-Jitsu. If you like to use a Guillotine choke, for example when you’re rolling No-Gi, what do you do with the Gi? Guillotines can be really tough to pull off with all that Gi material in the way. Luckily there’s an option you can switch to directly, without giving up on the submission. For a Guillotine choke, the loop choke is the like-for-like Gi alternative. But there’s something better. If you’re into getting D’arces left and right, consider the Gi Brabo choke. It’s going to drastically change your choking game.
The Brabo choke is a fairly old one, to be honest. It is actually a synonym for the D’arce, albeit a less famous one. Nonetheless, the Brabo is just as effective, especially when you turn to the lapels for help. The Brabo choke takes over from where the D’arce stops working. it is as simple as that. Wrapping someone up in their own Gi and slapping on a Brabo is a real source of pleasure. The plus side? You’re not limited to getting the Gi based Brabo to positions that are usual for the D’arce choke.
You see, whenever you’re in top half guard, or top side control, the D’arce is always a viable finish. Especially when opponents look to establish and underhook thinking it will do them good. In just such situations, when the Gi is in play, you can reach for a lapel and do Brabo instead. What you can also do with the Brabo is get it from the bottom. Yes, the D’arce works from bottom side control in certain instances. But the Gi Brabo works form full guard at a 100 % finishing rate. Sounds too good to be true? Read on!
D’arce Vs. Brabo
In order to simplify things let’s put it this way – everything is the same up until the grip. You see, the Brabo choke is still an arm triangle choke in essence. this means that in order to get it, you need one of the opponent’s arms and both of yours. The configuration of the arms is just like wit the D’arce. One arm goes over an opponent’s arm and then under their chin, all the way through to the other side of their neck. Up to this point, everything is the same with both hokes.
 Once the arm punches through, though, you need to decide what you’re going to go after. If its a D’arce you’re after you need to establish a gable grip and look to beak posture. The ultimate goal is to get the figure four configuration behind the opponent’s back and finish. For a Brabo though, you need to work on getting some Gi material loose first. We’re going to get into how to do this later on, but for now, just be clear that you need the top side lapel-free.
The way the Brabo choke works is by replacing one of your arms (the second one) with a lapel. namely, you need to have the lapel of an opponent threaded all the way behind their neck. The arm that’s in a D’arce position needs to grip the end of the lapel instead of your other arm. Now you’re in a position of a much better control than any gable grip (or other grips) can offer. To finish, all you need is to get the trapped arm across your body and squeeze. You can finish with one arm in most occasions. If the need arises, your free arm can also grab the lapel for more pressure.
The Brabo Choke From Hell
The Brabo choke game is a really versatile one, as we already stated. Just to get the mechanics down, we’re going to go over the top half guard Gi Brabo. After that, we’re going to look at how the Brabo offers something very different from the closed guard if you know how and when to get it.
 As far as the half guard goes, The Brabo choke from hell only requires you to get the lapel. Since most people go for the underhook anyway, all that you need to do is release the lapel on the same side. Once they have an underhook, you’ll need to be fast or you’ll find yourself fighting off all kinds of sweeps. You could go straight for a Whizzer and get the lapel freeform there. Once you have it, you’ll need to thread it through all the way up and behind their neck. At this point, your other arm will have to secure it until you can thread the underhooked arm in for the choke. Once you have the grip on the lapel you can rest. You have total control and all you need to do is just apply pressure.
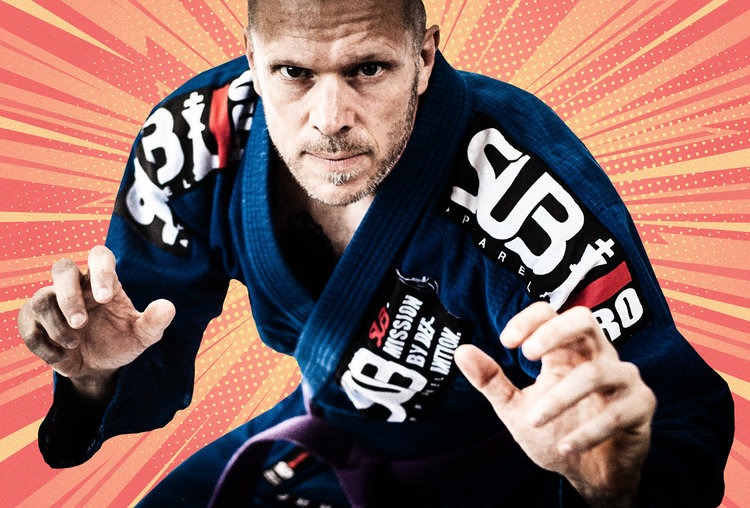
Lachlan Giles knows everything about D’arces, Guillotines, Neckties and the Brabo choke. Pick up his “High Percentage Chokes: No-Gi” DVD instructional for 4 volumes of pure choking brilliance!
The Closed Guard Brabo System
For the closed guard version you’ll need a bit more deception. The goal here is to find a way to release the Gi without making your opponent any wiser as to why. In order to achieve this, simply grab, pull and release their Gi on several occasions. Once the Gi is undone you have a clear path to setting up the Brabo. All you need to do is thread it behind their back and around their neck.
 What you get form this position is immediate posture control. Even if you decide to chill right there, you’re safe from any kind of pass or counter. Until the opponent breaks that grip they’re going nowhere. And, you’ll find that grip is really difficult to break. The broken posture also allows you to get your arm over theirs and through to re-grip for the Brabo. This is where all hell breaks loose for your opponent.
In order to finish, all you need to do is transfer their trapped arm across your body. In case of any defense attempts, you can use the position to weep to either side and finish the Brabo choke from the top, just like before. Whatever the situation, you have a fool-proof closed guard strategy that works. And, if you’re a D’arce fan, it involves your favorite move as well.
https://bjj-world.com/guillotine-choke-basics-bjj-submission/

 So, brave new grappler starting Jiu-Jitsu, are you ready to make sense of all this mess that’s unfolding before you? Yes, all those funky names, crazy moves, and confusing concepts have a meaning. Moreover, they all work together to make everything come together. And yes, one day you might be the one teaching them to someone new and lost, just like you are now. but for now, baby steps.
 This one is in terms of gear. Yes, you need a Gi or a Rashgaurd and spats, depending on your academy. However, you do not need a whole collection of gis with the assorted auxiliary equipment. Learn how to tie your belt first, then you can worry about that latest pearl weave hemp-only Gi that just came out. master the basics first, grasshopper.
 This fairly simple stretch comes from Yoga. It is a great way to begin stretching your hips. It is simple and prepares you for more intense stretching later on. You need to be on your back, knees bent, hands holding your feet. Place your palms on the outer edges of your feet. Your soles need to be facing the ceiling. The aim is to pull the knees as close to the mats as possible.
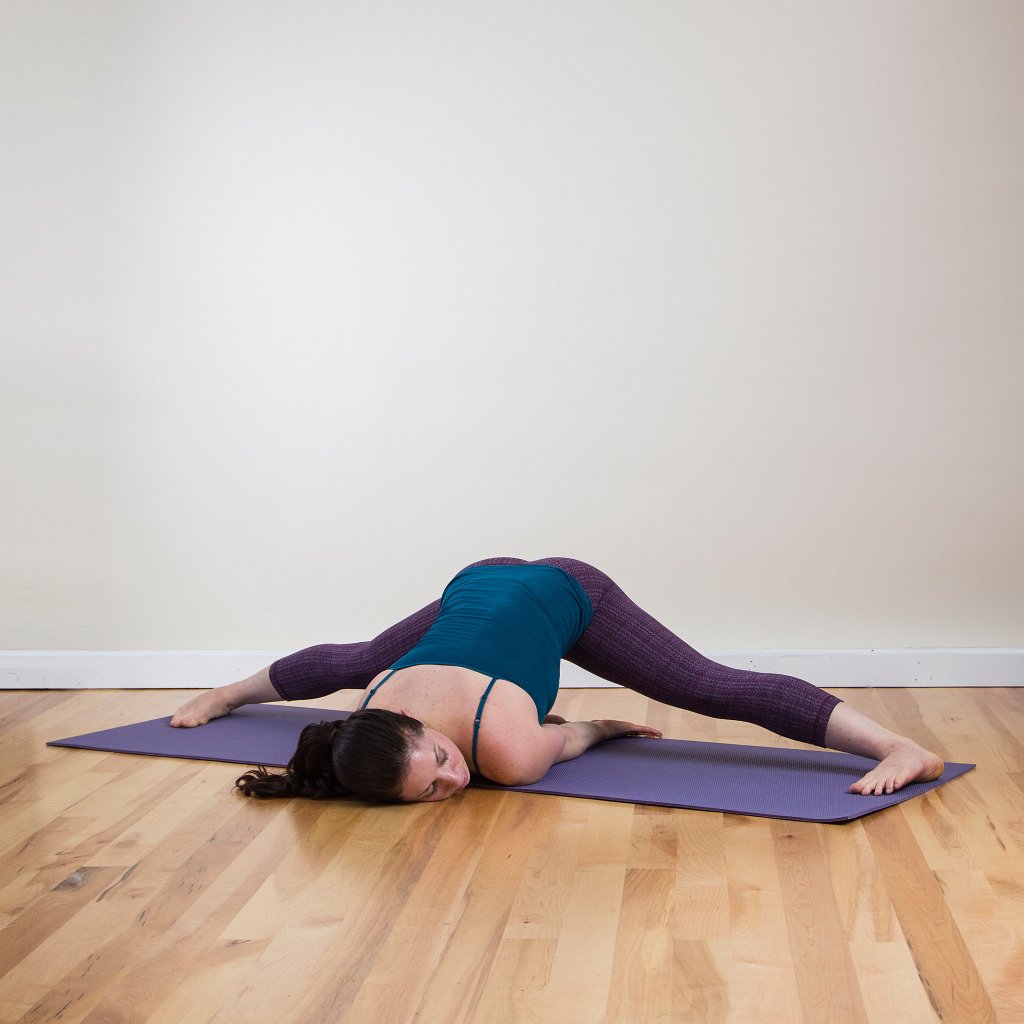 Do not be afraid of the name of this exercise. You won’t be doing a full split just yet. However, if there was ever an exercise that could help you with splits, it’s this one. Simply stand with your legs as wide apart as comfortable. Feet pointed forward and knees straight, bend forward and touch your arms to the ground. The ultimate goal is to place both your arms on the ground, from fingertips to shoulders. Your head should turn to one side and be flat on the mats as well. Take it slow with this one and progress slowly until you can get into position as described.
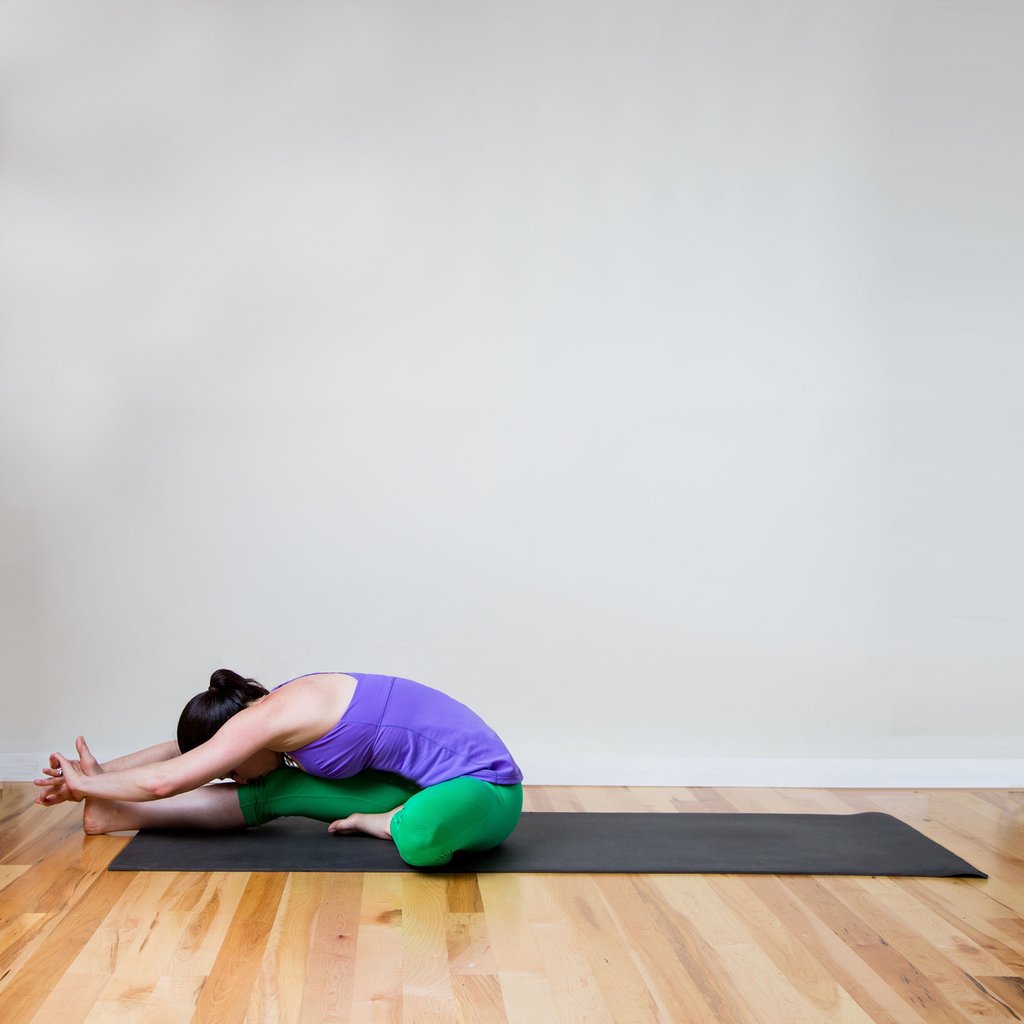 The pancake is an essential gymnastics stretch. However, it is an advanced one that has no place in our routine. Instead, a progression that leads to the pancake makes the cut. It’s also one you probably know, Sit on the ground with one leg extended in front of you. Put the sole of the other foot on the inside of the extended leg’s thigh and keep your knee falt to the ground. The goal is to touch the toes of your extended leg (foot flexed) while bending over it with a straight spine. remember to do the stretch on both sides.
 This is another Yoga stretch that’s tailor-made for BJJ. Start off by placing one leg in the mat in front of you. bent the leg 90 degrees at the knee, so that the foot is touching the mats with the outer edge. Extend the other leg as far back as possible, keeping it completely straight. The goal is to touch both your hips to the ground. At first, keep your arms extended and as you get better, aim to put your elbows on the floor in front of you. Once again, the spine stays straight.

 In terms of benefits, Jiu-Jitsu can guarantee a few things. First, you’ll get better overall health. This is due to to the physical aspect of it. But also there’s the lifestyle aspect, one which includes proper nutrition and often, supplemental conditioning or mobility training. Next, you’ll become better at life, as simple as that. Taking the BJJ principles and applying them to other life situations is going to provide you with answers to plenty of questions you thought were too hard to solve.
 Benefits of Jiu-Jitsu include a hard lesson in humility. Why hard? Just look back to those first few months. you got through them, and you never want to go through it again. But what did they teach you? They taught you that no matter how strong you think you are, how good you think you are, there’s always someone better. They taught you that you sometimes need to tap in order to learn something and keep on fighting. These area ll lessons that today’s society is not fit to teach. That’s where BJJ steps in.
 The cross collar choke is probably the most quintessential of all the submissions from the mount. Roger Gracie does it like no other, submitting the highest level black belts like it’s a joke. This only demonstrates how much the move is effective. For the cross collar, you need one hand in each of the opponent/s collars. As the name suggests, one hand should go deep on the opposite side collar. The other should follow. The grip you need is four fingers in, thumbs out. To submit all you need is to keep your elbows close and place your forehead on the mats, above the opponent’s head.
 Starting from low mount the Americana is the first one. All you need is to pin one wrist of the opponent to the mat right next to their head. the arm should be at a 90-degree angle. You need to control the wrist with your opposite side arm and thread the other arm under the opponent’s upper arm. The result is a figure four grip which is essential to finishing. Simply pull the opponent’s back of the palm across the mat, like a paintbrush and you’ll get a tap.
 From a mounted triangle, getting the Gogoplata requires you to switch legs. Basically, you’ll want to open the triangle, get your leg back on their shoulder and use the other leg to choke them. To do this, you’ll need the dexterity to place the foot on their trachea. Once you have it, the choke is really tight and brutal. Just like with triangle, even if an opponent reverses you at this point you’ll still get the submission.
 When other submissions from the mount don’t work, you need to get innovative. use both your feet to put in butterfly hooks from the mount. This is going to open an entry to an Ashi Garami on each side. You simply need to sit back and trap one leg. From there on feel free to finish with a leg lock of your choosing.